
How to Use OKX Wallet: Quick Beginner Guide
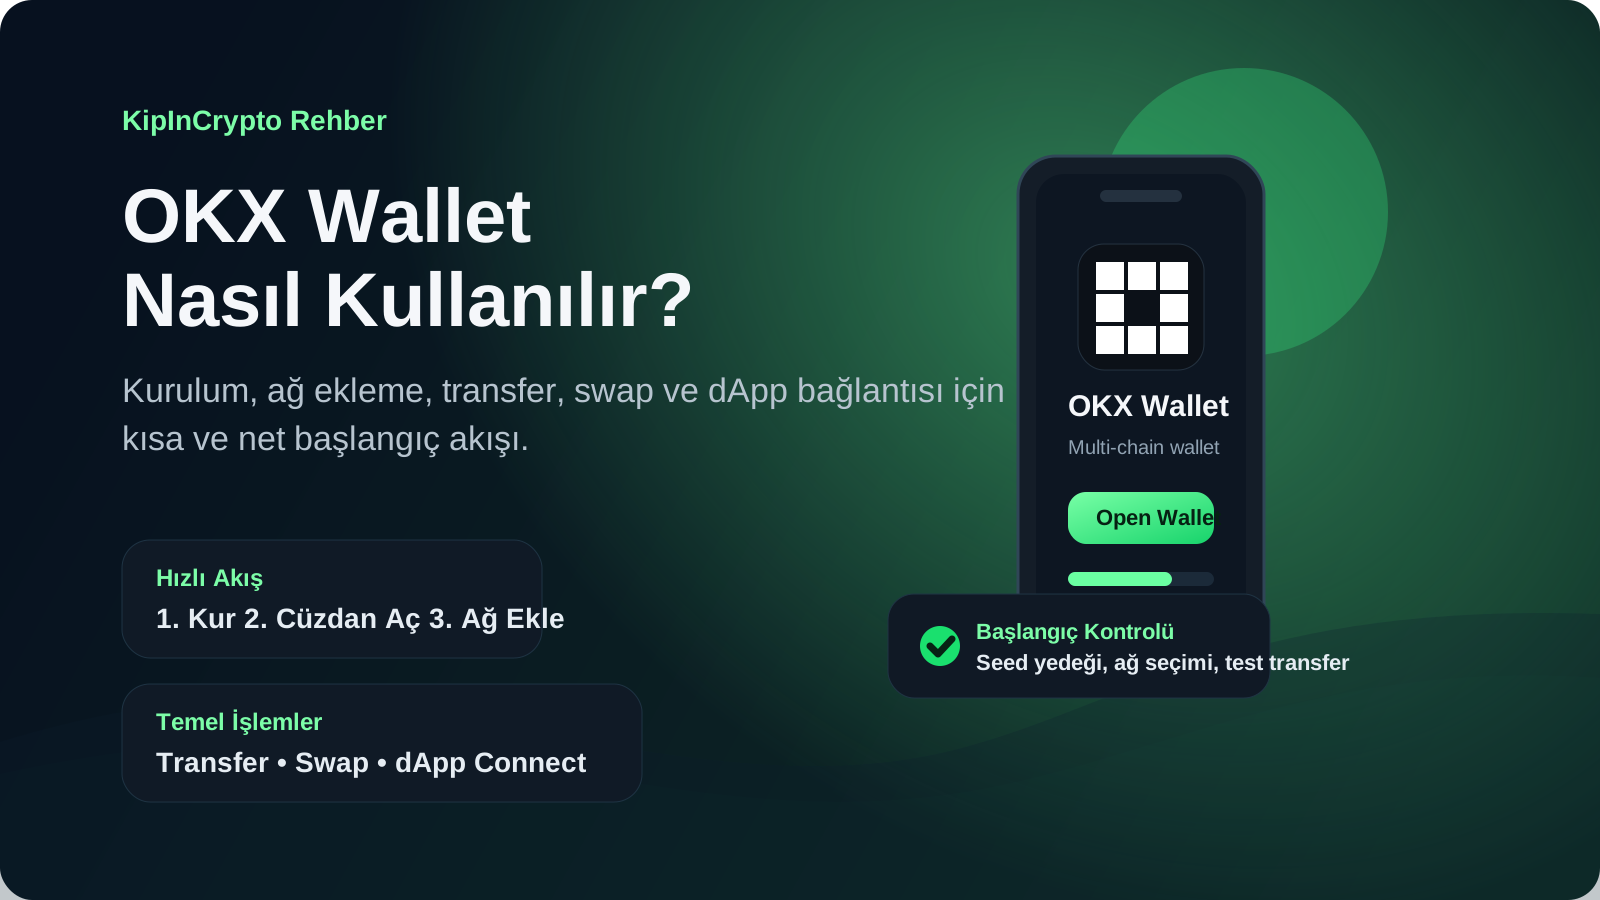
To get started with the OKX Wallet, you don’t need a long explanation—just the right steps. Install the app, create a new wallet or import an existing one, send a small amount, and try out the basic transactions one by one. This guide offers a short and practical getting-started workflow for users who are using OKX Wallet for the first time.
You can open the OKX Wallet link here. This link is for informational purposes only; it does not constitute a promise of transactions, earnings, or benefits.
1. How do I set up OKX Wallet?
- Open the OKX Wallet download screen on your phone or in your browser.
- After installing the app, open it.
- You’ll typically see two main options: create a new wallet or import an existing one.
For beginners, the simplest option is to create a new wallet. If you already have another wallet, you can use the import option with your seed phrase or private key. If you’re importing a wallet, you must clearly know which wallet you’re importing and which network you’ll be using.
2. Creating a New Wallet or Importing an Existing Wallet
Creating a new wallet
When you create a new wallet, the app will ask you to set a password and back up your recovery phrase. This is the part where you truly take control of the wallet. Once setup is complete, a multi-chain wallet dashboard will open, allowing you to view different networks from the same interface.
Importing an existing wallet
If you’re already using MetaMask, Trust Wallet, or another self-custody wallet, you can proceed with the import option. Here, you must select the correct seed phrase, private key, or supported backup method. Assets on different networks may not appear simultaneously; sometimes, you’ll need to add the relevant network separately.
If you’d like to learn more about WalletConnect or connection management, you can refer to the WalletConnect connection guide.
3. Backup and Initial Wallet Setup
The backup screen appears immediately after setup. The purpose of this section is to ensure you can access your wallet again even if you switch devices. Since this guide is usage-focused, it’s sufficient to highlight just one critical point here: do not treat this wallet as your primary wallet without properly saving your recovery information.
During the initial setup, this simple setup will make things easier for you:
- Open a low-balance wallet for daily testing.
- Keep your first transfers small.
- If you’re using a network for the first time, send a test amount first.
4. Adding and Switching Networks in the OKX Wallet
Since OKX Wallet operates on a multi-chain architecture, you can manage Ethereum, Solana, BNB Chain, Arbitrum, Base, and other networks within the same interface. However, not every token is available on every network. Therefore, you must select the correct network before making a transaction.
- Open the network selector section on the wallet’s main screen.
- Find or add the network you want to use.
- Make sure the token you’re transacting with is actually on that network.
For example, if you’re sending USDT, you need to clarify whether you’re using ERC20, TRC20, or Solana. You can use the USDT network selection guide for a quick comparison.
5. How do I send crypto to OKX Wallet?
- On the home screen, select the network you want to receive from.
- Tap the “Receive” or “Al” button.
- Copy the displayed wallet address.
- Select the same network on the sender’s platform and make a small test transfer.
The purpose of the first transfer isn’t to move a large balance, but to verify that the address and network are working correctly. Once the transfer is confirmed on the blockchain, the assets will appear in your wallet. You can use the TXID lookup guide to check the transaction status.
6. Sending Crypto with OKX Wallet
- Select the asset you want to send.
- Open the "Send" screen.
- Paste the recipient’s address.
- Verify that the network is correct.
- Enter the amount and confirm.
The most important thing to remember here is this: the network is just as important as the token name. If the same coin is sent on the wrong network, it could cause problems for the recipient. If you encounter the risk of sending to the wrong network, you can refer to the guide on sending to the wrong network.
7. How do you swap using the OKX Wallet?
The swap screen in the OKX Wallet is used to exchange one token for another on the same network. For beginners, the simple process is as follows:
- Open the Swap section.
- Select the token you hold and the token you want to receive.
- Enter the amount.
- Check the estimated rate, fees, and price impact information.
- Confirm the transaction.
The rate you see on the Swap screen may vary based on real-time liquidity. For this reason, it’s safer to start with a small amount on your first attempt. You’ll need to keep a small balance of the network’s native token for the transaction—for example, ETH on the Ethereum network or SOL on the Solana network.
8. dApp Connection and Using the OKX Wallet
To connect to a decentralized application using the OKX Wallet, you generally use the “Connect Wallet” button. The app will redirect you to the OKX Wallet authorization screen and ask you to confirm the connection.
- Open the dApp you want to connect to.
- Click the “Connect Wallet” option.
- Select OKX Wallet.
- Read and approve the requested connection permissions.
Once the connection is established, you may see additional signature or confirmation windows for swaps, staking, minting, or other transactions. The basic rule here is not to proceed quickly without understanding what you’re approving.
9. The simplest step-by-step guide for beginners
- Open the OKX Wallet.
- Create a new wallet or import an existing one.
- Select the network you’ll be using.
- Receive a small test transfer.
- If necessary, send a small transfer.
- Try the swap screen with a small amount.
- Use the dApp connection only when necessary.
This sequence is the cleanest starting workflow for a beginner. First, check your wallet, then try a transfer with a small balance, and finally move on to using the swap or dApp—this reduces the likelihood of errors.
Frequently Asked Questions
Is the OKX Wallet a centralized exchange account?
No. OKX Wallet offers a separate wallet experience based on the self-custody model. It is not the same as an exchange account.
Can I use multiple networks in OKX Wallet?
Yes. The app is designed for multi-chain use, and you can switch between supported networks.
How much should the first transfer be?
It’s best to start with a small test transfer on your first try. This way, you can verify that the address and network match.
Why do I need a balance in the network’s native coin to make a swap?
Because transaction fees are generally paid in the network’s native token. For example, on the Ethereum network, you need ETH.
How do I connect to the dApp using the OKX Wallet?
Select OKX Wallet in the “Connect Wallet” step within the dApp, and confirm the connection through the app.
Bottom line
The most practical way to get started with OKX Wallet is to follow these steps: set up the wallet, create a new wallet or import an existing one, select the correct network, receive a small transfer, and then try basic transactions like sending and swapping with small amounts. You can access the official guide here to get started.